Recently I have described how I fixed a wrong setup of the tweetmeme button on my blog. I manually modified the blog template and I only mentioned briefly there is a Wordpress plugin for Tweetmeme.
Acknowledging Wordpress as the most popular blogging platform I need to follow up with a more detailed description of the Tweetmeme WP Plugin.
The installation and configuration is straightforward and shouldn't be a problem for anyone who has installed Wordpress on her hosting account successfully.
I provide some screenshots for your orientation.
Update Dec. 21, 2009: I made a screencam video of the procedure as well.
Installation of the Wordpress Tweetmeme Plugin
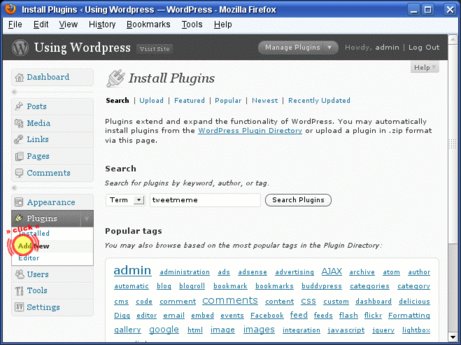
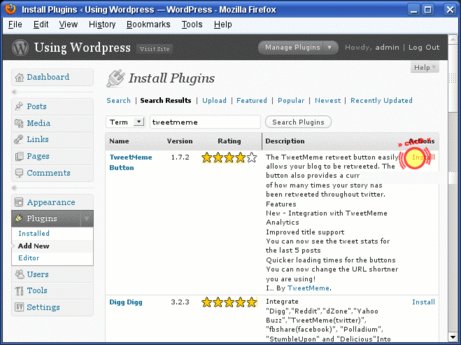
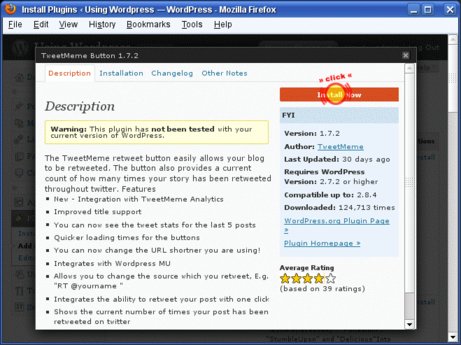
You can download the
plugin from Tweetmeme (↑) or directly install it with the
Wordpress Admin Interface.
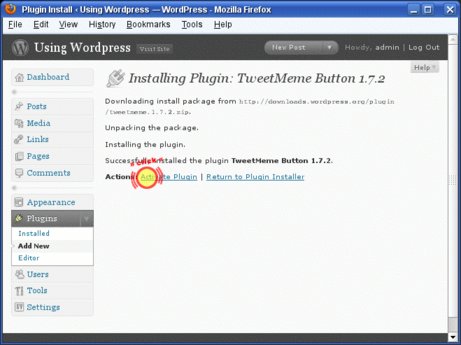
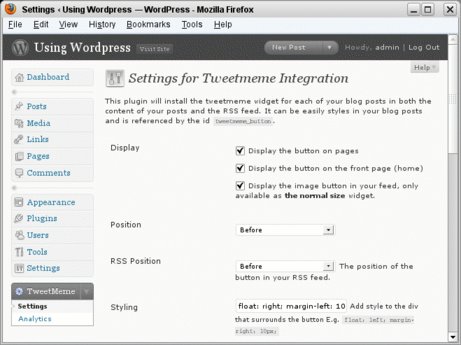
After installing you need to activate and configure the plugin.
A new item —
“Tweetememe” — appears in the left navigation bar at the bottom. Now it's time to configure it. (It's very easy.)
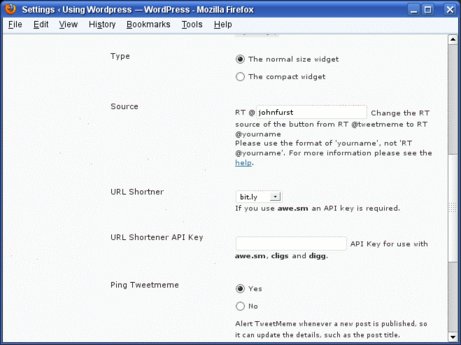
I used the default setting and only changed those below:
- Source: johnfurst
- URL shortener: bit.ly
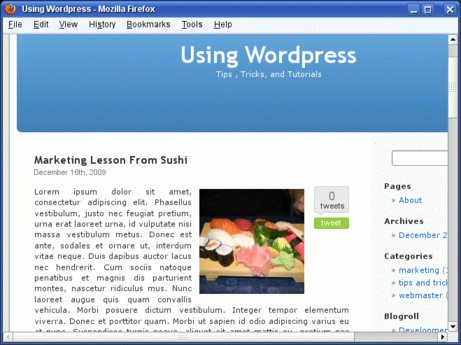
Tweetmeme Button Successfully Installed
How long did this take?
4 minutes or less?
We are almost done.
I just want the button move the botton from the other side. All I need to do is to modify the
Style.
- Style for right side (default): float: right; margin:left: 10px;
- Style for left side: float: left; margin-right: 10px;
The result looks fine.
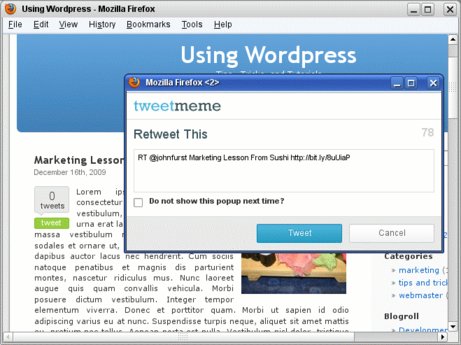
The plugin uses — behind the scenes — the HTML meta element and inserts a “tweetmeme-title” into the head section of the page with the title of the post. It drops the title of the blog to keep the retweet text string short.
<meta name="tweetmeme-title" content="Marketing Lesson From Sushi" />
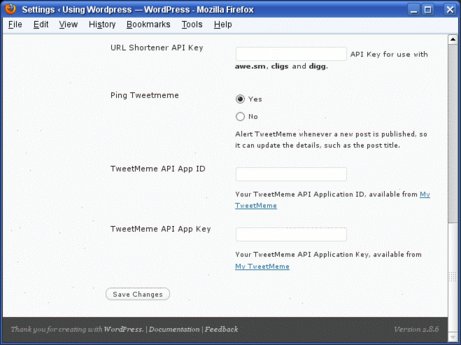
There are additionally configuration options. Just play with them a little.
Yours
John W. Furst

 Copyright ©2007-2024 by John W. Furst and Fcon21 Email Marketing Strategies And Internet Business Solutions. This work is licensed under a Creative Commons Attribution-Share Alike License (↑).
Powered by Serendipity S9Y
[XHTML]
Copyright ©2007-2024 by John W. Furst and Fcon21 Email Marketing Strategies And Internet Business Solutions. This work is licensed under a Creative Commons Attribution-Share Alike License (↑).
Powered by Serendipity S9Y
[XHTML]

http://blog.fcon21.biz/comment.php?type=trackback&entry_id=302
A couple of days ago I have removed my do-it-yourself Tweet-it button and put the button from Tweetmeme (↑) on this blog. Dreaming of 44 retweets. It's more encouraging for website visitors to retweet a story that already has been retweet
Tracked: Dec 19, 08:48
[…] Setting up the Tweetmeme button on a Wordpress blog is rather straight forward. The button allows visitors to share your blog post easily on Twitter. It's important to change the default Twitter user name to your. More info at: http://blog.fcon21.biz/302/ (wordpress plugin) and http://blog.fcon21.biz/296/ (manual setup and tricks) […]
Tracked: Dec 21, 07:33